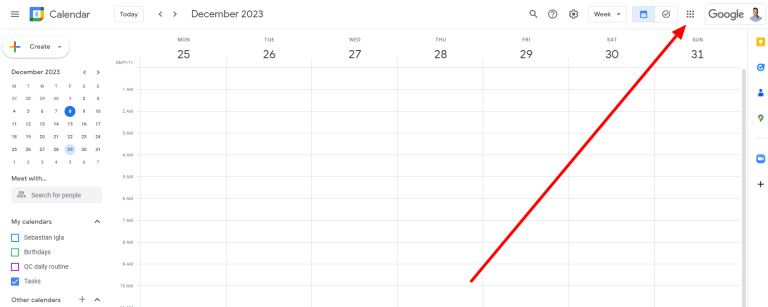
Navigate to Google Calendar by clicking on the app grid in the top-right corner and selecting Calendar.
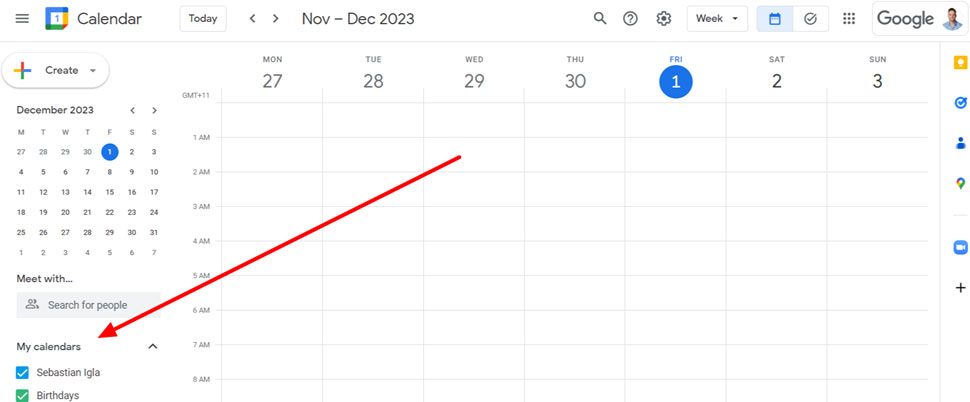
Locate the calendar you want to share on the left sidebar under “My calendars.”
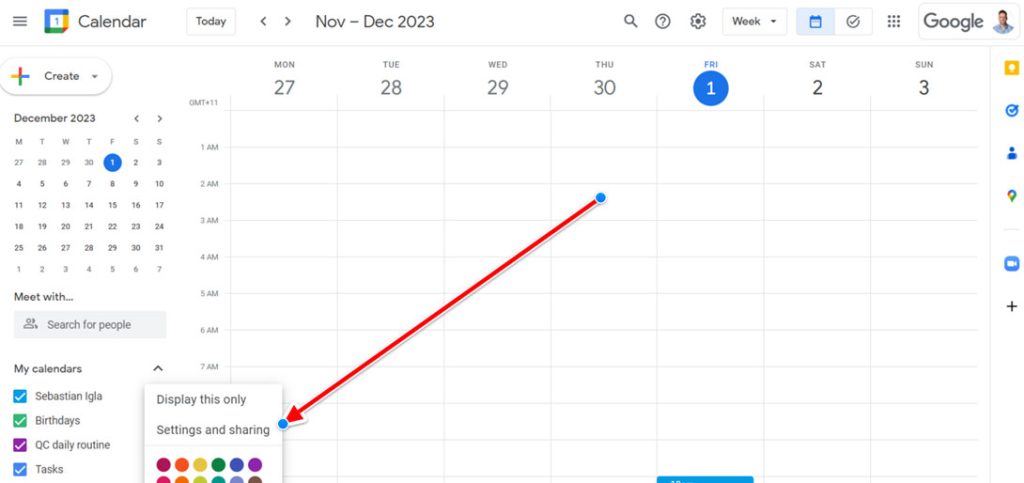
Hover over the calendar name and click on the three vertical dots that appear to access the menu.
Click on “Settings and sharing” from the dropdown menu.
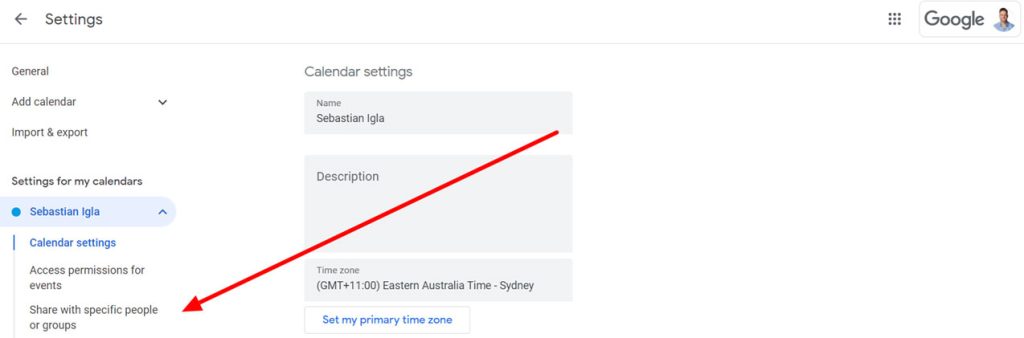
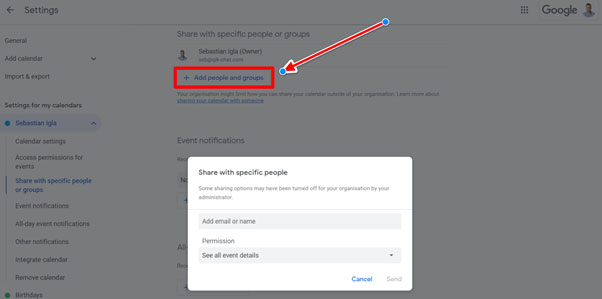
Scroll down to the “Share with specific people or groups” section.
Click on “Add people” to begin sharing with someone new.
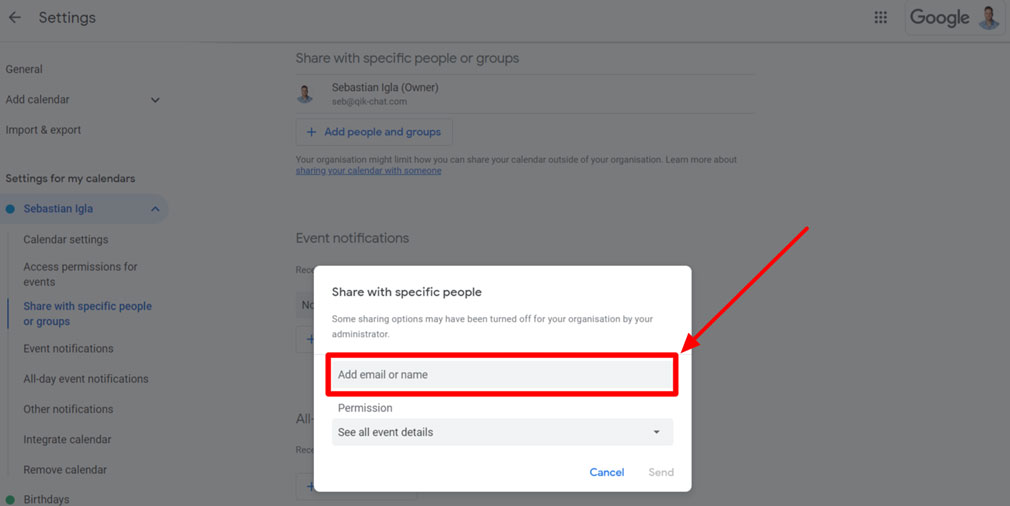
Enter the email address of the person you want to share the calendar with.
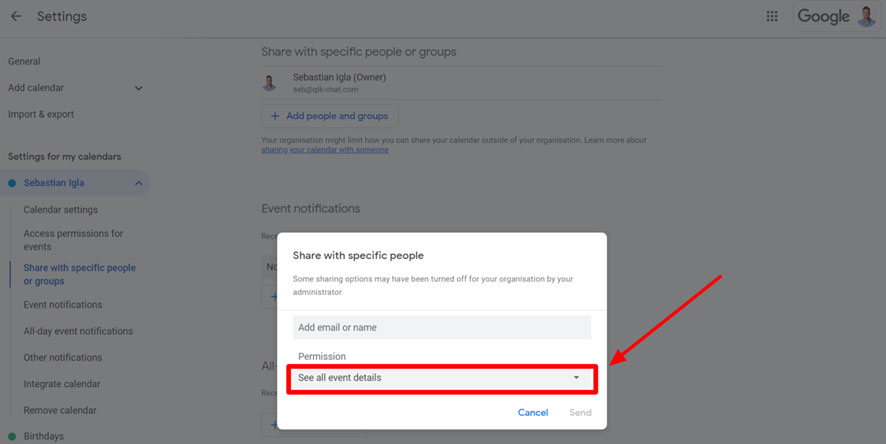
Choose the level of permission you want to grant, be mindful of this step on how to share a Google calendar, as it’s probably the most important one:
Make changes and manage sharing: Allows the recipient to add and edit events.
See all event details: Permits the recipient to view all event details without editing.
Make changes to events: Allows the recipient to edit events but not manage sharing settings.
See only free/busy (hide details): Shows when your calendar is free or busy without revealing event details.
Optionally, include a message to the recipient detailing the shared calendar’s purpose or any specific instructions.
Click “Send” to notify the recipient via email.
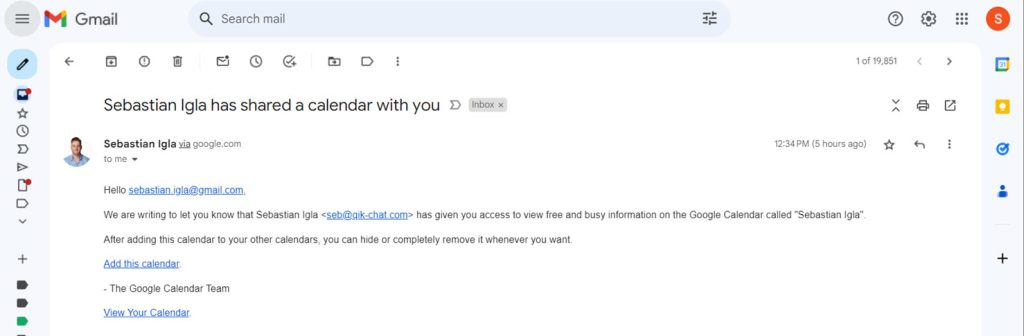
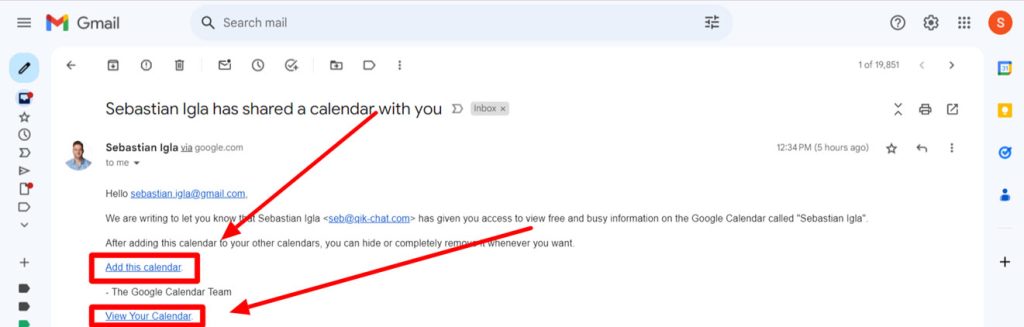
The recipient receives an email notification about the shared calendar.
Upon opening the email, they should click on “View in Calendar” or “Add to Calendar” to access the shared calendar.
Once accepted, the shared calendar will appear in the recipient’s Google Calendar under “Other calendars.”
3 steps to share a Google calendar with a link:
Repeat the steps above until step 5, then follow the steps below:
1. Set your access permissions and events
Set your access permissions and events for your calendar to ‘See only free/busy (hide details)’. This will make sure when sharing a Google calendar publicly, your event names will show ‘Busy’, keeping your events private.
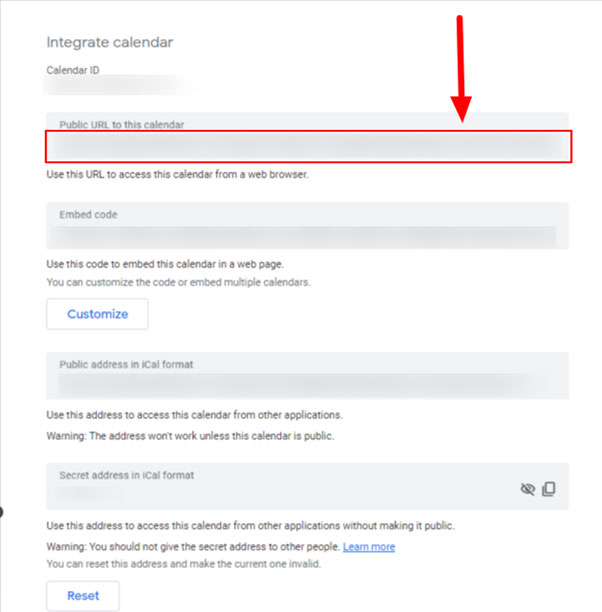
2. Integrate calendar
Then scroll down and under the ‘Integrate calendar’ section, you’ll see your ‘Public URL to this calendar’.
3. Copy and paste
Then, copy and paste and share it wherever you like.
6 extra Steps, on how to share a Google calendar
1. To modify or revoke access:
Go back to “Settings and sharing” for the specific calendar.
Find the person’s email in the “Share with specific people or groups” section.
Click on the respective permissions to edit or remove access entirely.
Events can be added or edited by both the owner and the person the calendar is shared with, depending on the permission level granted.
2. Troubleshooting
Managing Shared Calendar Settings (Optional)
Ensure they are logged into their Google account.
Advise them to click on the link in the email notification again or manually add the shared calendar using the provided email.
Regularly review and manage shared calendars to maintain security and access control.
Communicate clearly with the recipient regarding expectations and guidelines for using the shared calendar.
The shared calendar will also appear on the Google Calendar mobile app for both the owner and recipient.
3. Revoking Access and security settings
If you need to stop sharing the calendar:
Return to “Settings and sharing” for the specific calendar.
Locate the recipient’s email and click on the “Remove” option.
Regularly review sharing settings to ensure the security of your calendar data.
Conclusion
This comprehensive list should guide you through the process of sharing your Google Calendar with individuals outside your organisation, allowing for efficient collaboration while maintaining control over your calendar’s privacy and access settings.
See the power of QikChat in action now!
Complete the form below, then book a time for a 30-minute personalized demonstration, where go through how QikChat skyrockets conversions and maximizes booked meetings.